6. Locations
New in version 16.02.
Changed in version 17.02.
6.1. Locations Overview
Locations can be created in the Location Wizard.. Ensure the correct Location Types. exists first, and consider how the Location structure should appear.
Typically, a structure would look something like the image below, however it could be generated to represent any parent > child relationship between objects:

An example of a simple Location structure.
Ensure the correct properties are assigned to a Location Type, for example, the a Building type has the ability to accept Floor and/or Rooms as Child Location Types.
It is possible to amend a Location Structure at any time using the Location Tree, so it can be updated as required if the model structure isn’t appropriate.
6.2. Location Details
Location details can be updated using the Location Wizard or the Edit Location button in the Sidebar when viewing a Location.
Any Location fields, including EAV fields can be updated on this form.
6.3. Edit Floorplan
It is possible to create a visual floorplan of a Location in the following situations:
- If the User wished to define a new area.
- If data has been imported from TRACKIT Mobile.
- If data has been imported from a previous version of TRACKIT.
- If data has been imported from another product, such as a CMDB or DCIM tool which has space information.
6.3.1. Importing Floorplan Data
If existing data is available in a support format, this can be added to a TRACKIT Location.
Supported formats are as follows:
- AutoCAD DWG - All valid layers will be imported and the scale retained.
- Microsoft Visio - Everything is imported as a single layer which would require scaling to the correct size.
- Adobe PDF - Everything is imported as a single layer which would require scaling to the correct size.
- Scalable Vector Graphics (SVG) - Imported as a single layer which would require scaling to the correct size.
Floorplans can be imported by simply dragging and dropping from a Desktop or File Explorer on the Users PC into the web browser.
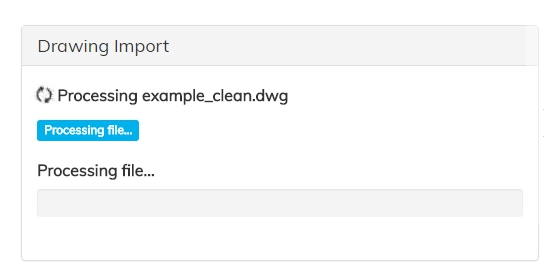
The import screen of a Floorplan
Once the file has been imported, it can be scales, rotated or moved as appropriate.
If the User requires, they can create an area on the floorplan to allow mounting of Asset using Edit Borderpath.
6.4. Edit Borderpath
If a floorplan has been added, it’s possible to define an area on the floorplan to designate as a set Locations mounting area.
To do so, select the Edit Border Path button on the Edit Floorplan form.
Once the floorplan has loaded, choose the option on the Sidebar to add points, creating enough to surround the area accurately.
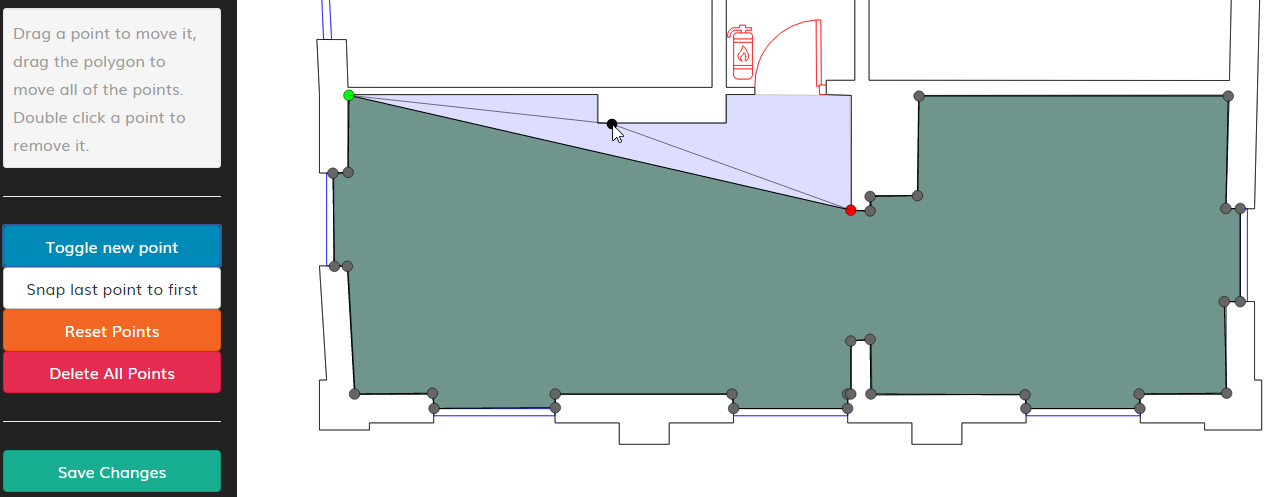
The import screen of a Floorplan
6.5. Regions
If the Map is used on the Dashboard screen, regions can be defined to place locations into. Regions are created in the Administration menu, under Location Management.